Grilling chicken, at least at first, seems like a simple undertaking. Fire up the grill and preheat it for enough time. Slap the chicken legs, drumsticks, or thighs on the grates. Let them cook uninterrupted for a few minutes per side until golden brown.
Until, that is, you get to the specifics. Should you bring the chicken to room temperature first, or can you grill it straight from the refrigerator, the freezer? Do you salt the chicken before or after cooking it? When placing it on the grill, does it go skin side up or skin side down?
All of these questions can seem intimidating—especially to novice grillers—but we are here to help. Let us take some time to talk about the proper preparation and placement of chicken on the grill so that it comes out crispy on the inside, tender on the inside, and tasting “just right.”
Chicken legs, drumsticks, or thighs should be grilled skin side down over direct, medium-high heat. Grease the grates well and preheat your grill for 15-20 minutes to keep the chicken from sticking.
To recap, you will need thawed meat, a hot grill, oiled grates, a little grilling know-how and technique (which we will introduce you to in a minute), and plenty of patience.
Follow the methods that we are about to show you below, and you will never have to deskin your chicken, taking away much of the aromas and flavors, or worry about it sticking to the grate again.
How to Grill Chicken
We have some tips on how to cook skin-on chicken to perfection every time you fire up the grill. To the surprise of some, they start not with your grill but with your freezer.
Always Thaw the Meat
Frozen chicken can be grilled, but only over medium heat and double the cooking time to allow it to thaw on the grill. We do not recommend this, as it is too easy to char the outside and not cook the inside through.
Unless you buy your poultry from a local farmer, the chances are high your chicken has been injected with water or brine. Thawing helps you get rid of that excess moisture so that your chicken starts to sizzle and crisp as soon as you throw it on the grill.
Bring It to Room Temperature
Take the chicken out of the fridge 15-20 minutes before it’s time to get grilling and place it on the counter (if on an outside counter, always in the shade) to warm it up to room temperature. With tempered meat, that juicy interior and crispy, flavorsome crust are significantly easier to achieve.
Put the chicken pieces in a bowl or a deep plate. Wash your hands with warm water and soap for at least 20 seconds before and after handling the raw chicken. Sanitize any counters, dishes, boards, cutlery, and utensils that came into contact with it during prep.
Preheat Your Grill for Enough Time
While you are tempering the chicken, use the time to preheat your grill and grease the grate.
If you are using a gas grill, open the lid, turn the burners designated for lighting to the start position, and press the ignition switch. Once your grill is lit, set the burners to medium-high, close the lid, and let it preheat for 15-20 minutes.
If you are using a charcoal grill, crumble a sheet or two of newspaper in the bottom of your chimney starter, fill it to the top with coals, and set the paper on fire with a match or a lighter. Wait 15-20 minutes for the coals to ashen, and then spread them out nice and evenly in the pit.
Oil the Grate Properly
Soak a clean rag or a heavy-duty paper towel in cooking oil with a high smoke point (such as avocado oil, canola oil, or vegetable oil) and wipe it on the grate. As a golden rule, you want to coat the grate generously with oil but not so much that you soak it and drips, flaring up your fire.
Now, this technique works best on a hot grate. If you’re the type of griller who prefers to oil his or her grate when it’s cold, which is also an option, it is best to use non-stick cooking spray. That way, the oil will adhere to the metal although it’s still cold.
Season the Chicken (Two Ways)
Season your chicken before, and not after, grilling it. As the poultry sizzles on the grates and gets kissed by the occasional flame, the salt not only mellows out in flavor but brings out the rich smell and savory taste in the chicken itself.
Some go one step further and brine the chicken. This is done by salting it one to two hours before throwing it on the grill. Through osmosis, the salt soaks up the moisture from the meat in the first quarter of an hour. Then, it dissolves in it to form a salty brine that gets reabsorbed by the meat.
(Chicken brined for one or two hours is juicer and tastier than chicken seasoned right before being thrown in the grill, no doubt about it. Keep the chicken in the fridge during brining and, once again, take it out 15-20 minutes before grilling to bring it to room temperature.)
Grill It Skin Side Down at First
Roll up your sleeves, fellers, because it’s time to grill that chicken!
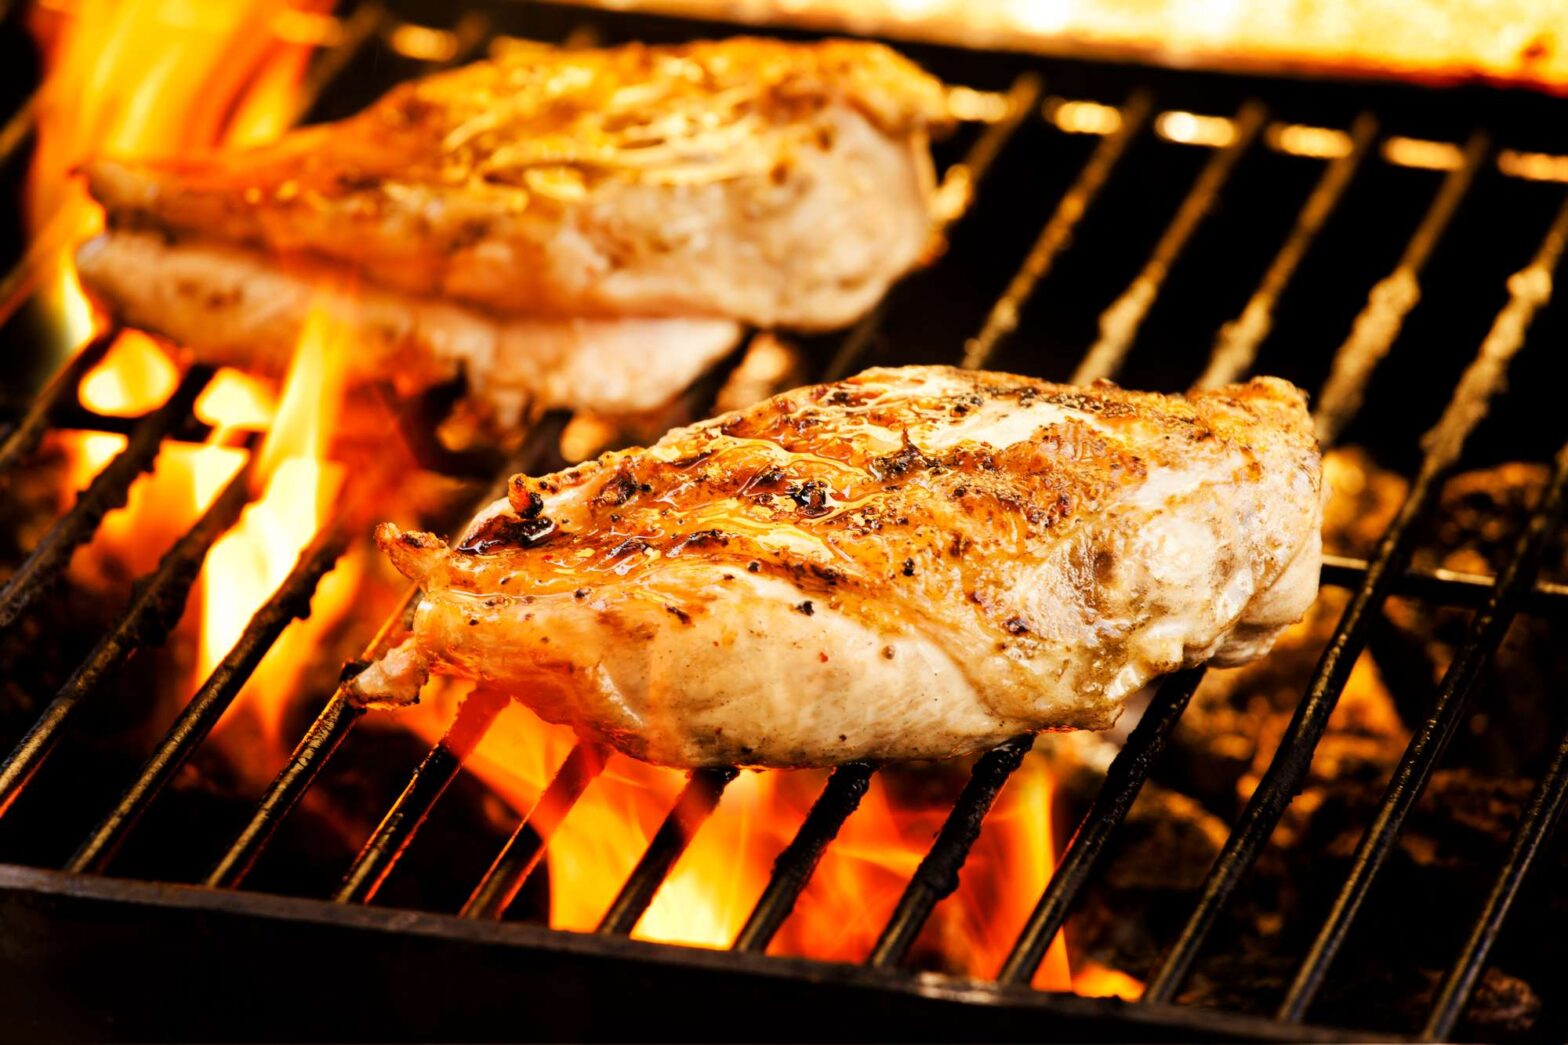
Chicken, whether halved or cut into pieces, should be grilled skin side down over direct, medium-high heat for at least 10 minutes before being turned over to the other side.
It is important that you let the chicken cook without interruption for at least a few minutes. Simply put, avoid pressing on the chicken, lifting it, or moving it around too much, especially in the first few minutes of cooking.
In the beginning, the skin sticks to the grates. As the chicken crispens and browns, it slowly but surely releases itself from the grate until it can be flipped with minimal effort from you, the griller.
This interval of time, by the way, allows you to read the paper, listen to the sports news on the radio, or catch up with a grilling buddy over a can of ice-cold beer. Avoid meddling with the meat; take your time and enjoy the process.
Flip Over and Continue Cooking
Time to turn the chicken.
Place a fork, tongs, or spatula under the chicken pieces and carefully try to turn them over. If they struggle and give you a bit of resistance—a sign that you may not have greased the grates properly—slow down and gently aid the meat to pull away from the metal.
Let the chicken cook on the other side for ten to a dozen or so minutes, then check it for doneness using a meat thermometer. As recommended by the USDA, the safe minimum internal temperature for poultry is 165°F.
Rest for This Much and Serve
Rest the chicken pieces for at least 3-4 minutes before cutting and serving. The poultry will finish cooking in its residual heat, and the juices will settle during that time. Halved birds and bulkier pieces will benefit from a few minutes more.
Last but not least, grilled chicken shouldn’t be left to sit out at room temperature for too long, or it will become unsafe to eat. So eat it all up or cool it down and refrigerate it shortly after grilling. (You will find specifics in the article I just linked to.)
