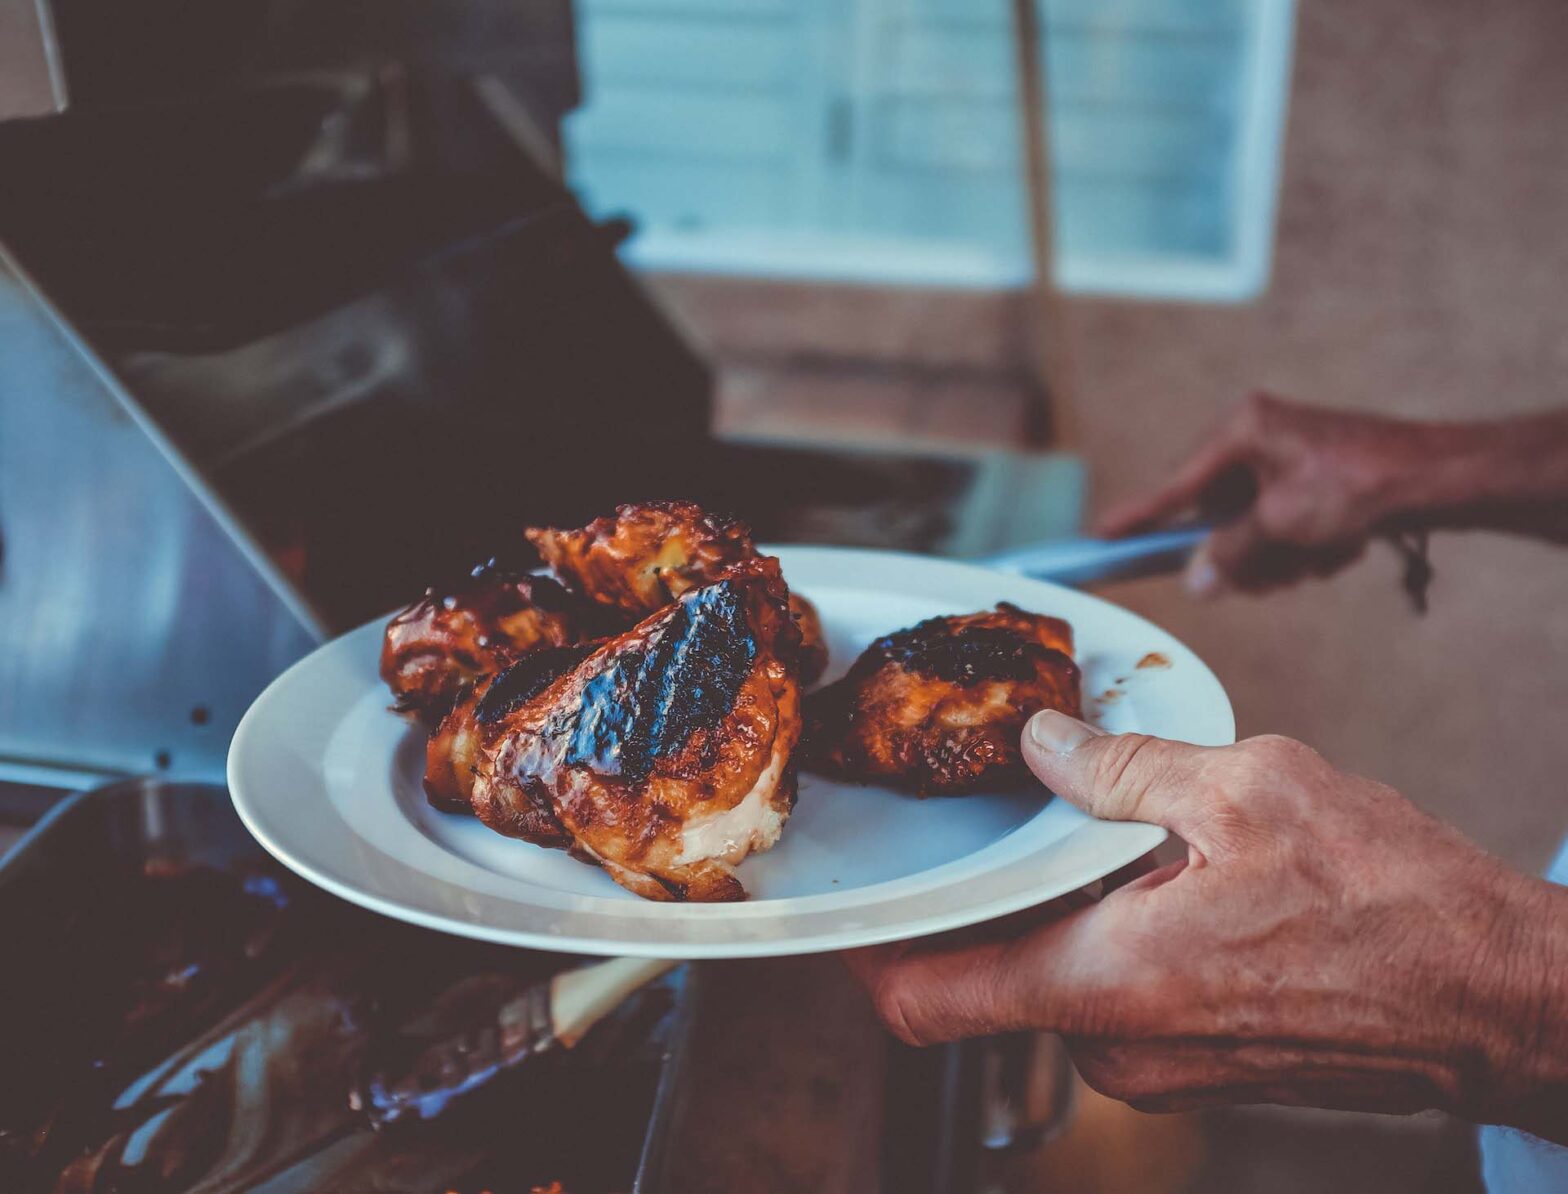
There’s nothing like some mouth-watering BBQ grilled chicken to throw down on the grill. One problem people face when cooking chicken is sticking to the grill, sometimes tearing the meat apart when it is time to turn it over.
So let’s get to the question you came here to have answered: How do you stop the chicken from sticking to the grill? Read on for the answers—and more information about why it sticks so much in the first place!
There is more than one way to prevent chicken from sticking to the grill, but by far the best is to grease the grates, preheat the grill, and not rush to turn the chicken over.
We will learn the other methods to use, and you can choose which one works best for you while grilling. You may even wonder why it is a problem.
In the end, we will go over some tips to make that chicken come out juicy and when it is best to add the sauce. The sauce is another issue where sticking occurs, but we’ll help you out!
Why Does Chicken Stick to the Grill?
Have you ever wondered why chicken sticks to the grill? We’ve outlined the main reasons why below, along with the things that you can do about them.
The proteins in the chicken form bonds with the metal:
When grilling chicken (or any other meat for that matter), the proteins undergo a number of chemical reactions. In one of these reactions, in the heat of cooking, the proteins form a bond with the hot, bare metal of the grill’s grate.
Those bonds, however, weaken as the chicken cooks:
As the chicken cooks, those bonds eventually weaken. To the extent that when the meat is all browned on one side and ready to turn, it will release itself almost magically—as if it never stuck to the grate in the first place!
Oiling the grate or the chicken helps minimize this:
Here’s the deal: if you grease the grates before you slap the chicken on the grill, or you rub a little bit of cooking oil on the raw chicken cuts themselves, the oil will act as a barrier that keeps the protein from bonding to the metal.
Easy enough, right?
The keys, then, are (1) a hot grill, (2) not rushing to turn the chicken over, and (3) greased grates and/or oiled chicken pieces.
Do You Preheat the Grill When Cooking Chicken?
One mistake novice grillers make when cooking chicken is not preheating the grill.
When your grill is nice and hot, the chicken will cook more quickly and more evenly. This also means that, when it comes to sticking, the pieces of chicken will also release themselves faster from the grill’s grate.
The rules for preheating a gas grill are simple. Fire up the grill and ignite all of the burners, then crank them up to medium-high, close the lid, and wait for a good 15-20 minutes.
A pellet grill is not that different from a gas grill. After you’ve turned the unit on, you want to preheat it 15-20 minutes before you start cooking the chicken. That way, the grate will be nice and hot and the walls of the unit will be radiating heat all over.
Charcoal grills are another story.
Your best maneuver is to light the coals in a chimney starter and allow 20-25 minutes for them to ashen over before throwing them in the pit, raking them out evenly, and cooking the chicken.
Steps to Cooking Chicken on the Grill
Cooking chicken on the grill is not like cooking sausage, beef, or pork on the grill.
It takes skill, knowledge of old tricks, and family secrets to have the perfect juicy chicken come off the grill. Here are some steps to how to cook the ideal juicy chicken on the grill without any problems with it sticking to the grill grate.
Step 1: Use the Right Chicken
The best chicken to grill is a young chicken, no more than three to four months old. The chicken should be fresh, not frozen.
If you can find a chicken born and raised in your state or country, that would be ideal; importing takes its toll on the meat’s freshness.
Step 2: Brine the Chicken
You must brine the chicken for at least two hours before grilling it. This will help keep the chicken moist.
You can make a simple brine by dissolving 1/4 cup of salt into 4 cups of water. You can also add spices like thyme, rosemary, or sage to give the chicken additional flavor. Put the chicken and the brine solution into a large resealable bag and let it sit in the fridge for at least two hours.
Dry-brining also works wonders on the chicks. Rub a generous amount of kosher salt on the bird’s skin, place on a rimmed baking sheet, and leave in the fridge for 1-2 hours.
Step 3: Prepare the Chicken
Once the chicken has finished brining, take it out of the bag and pat it dries with a paper towel. Then, you need to prepare the chicken for grilling.
You can do this by rubbing some cooking oil on the chicken. You can also add some spices like salt, pepper, paprika, garlic powder, onion powder, or any other spice you like. To give the chicken a smoky flavor, add some wood chips to the charcoal before you start grilling.
Step 4: Preheat the Grill
You need to preheat the grill before you start cooking the chicken.
As we’ve already touched on, if you use a charcoal grill, you should wait until the coals are white before you start cooking.
If using a gas grill or pellet grill, you should preheat it to medium-high heat for at least a quarter of an hour. Use cooking oil to coat the grates when the grill reaches the desired temperature.
Use a heat-resistant brush to apply the cooking oil and a small amount of oil. One must be aware and careful of flare-ups!
Step 5: Grill the Chicken
Now, it is time to grill the chicken. You should put the chicken on the grill grate and cook it for about eight minutes per side. Make sure that you do not overcrowd the grill. If you have a lot of chicken, you may need to cook it in batches.
Note: With about two minutes left on each side, add the sauce.
Step 6: Check the Chicken
Once the chicken has cooked for eight minutes per side, you should check it to ensure it is cooked all through. The best way to do this is to use a meat thermometer.
The chicken is cooked all the way through when the internal temperature reaches 165° F.
Step 7: Let the Chicken Rest
Once the chicken is cooked through, you should take it off the grill and let it rest for five minutes. This will allow the juices to settle and make the chicken even juicier.
Happy Eating!
Following these steps will help you cook the perfect juicy chicken on the grill without it sticking to the grill grate. You will have a whole chicken that will burst with flavor and juices with every bite. We hope this helps keep the chicken from sticking to the grill the next time you cook chicken.
