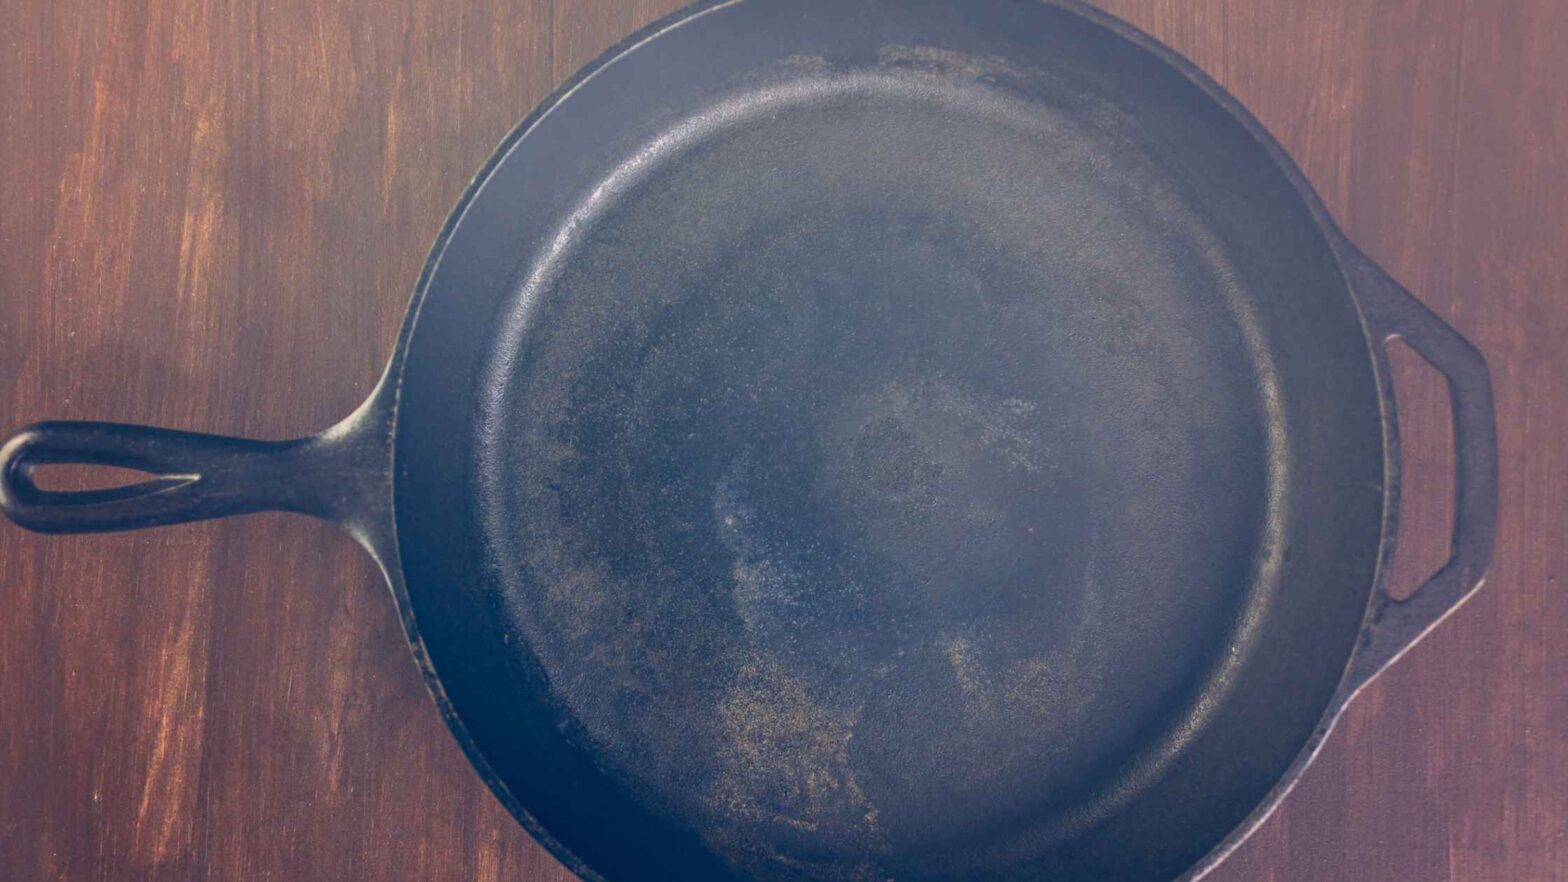
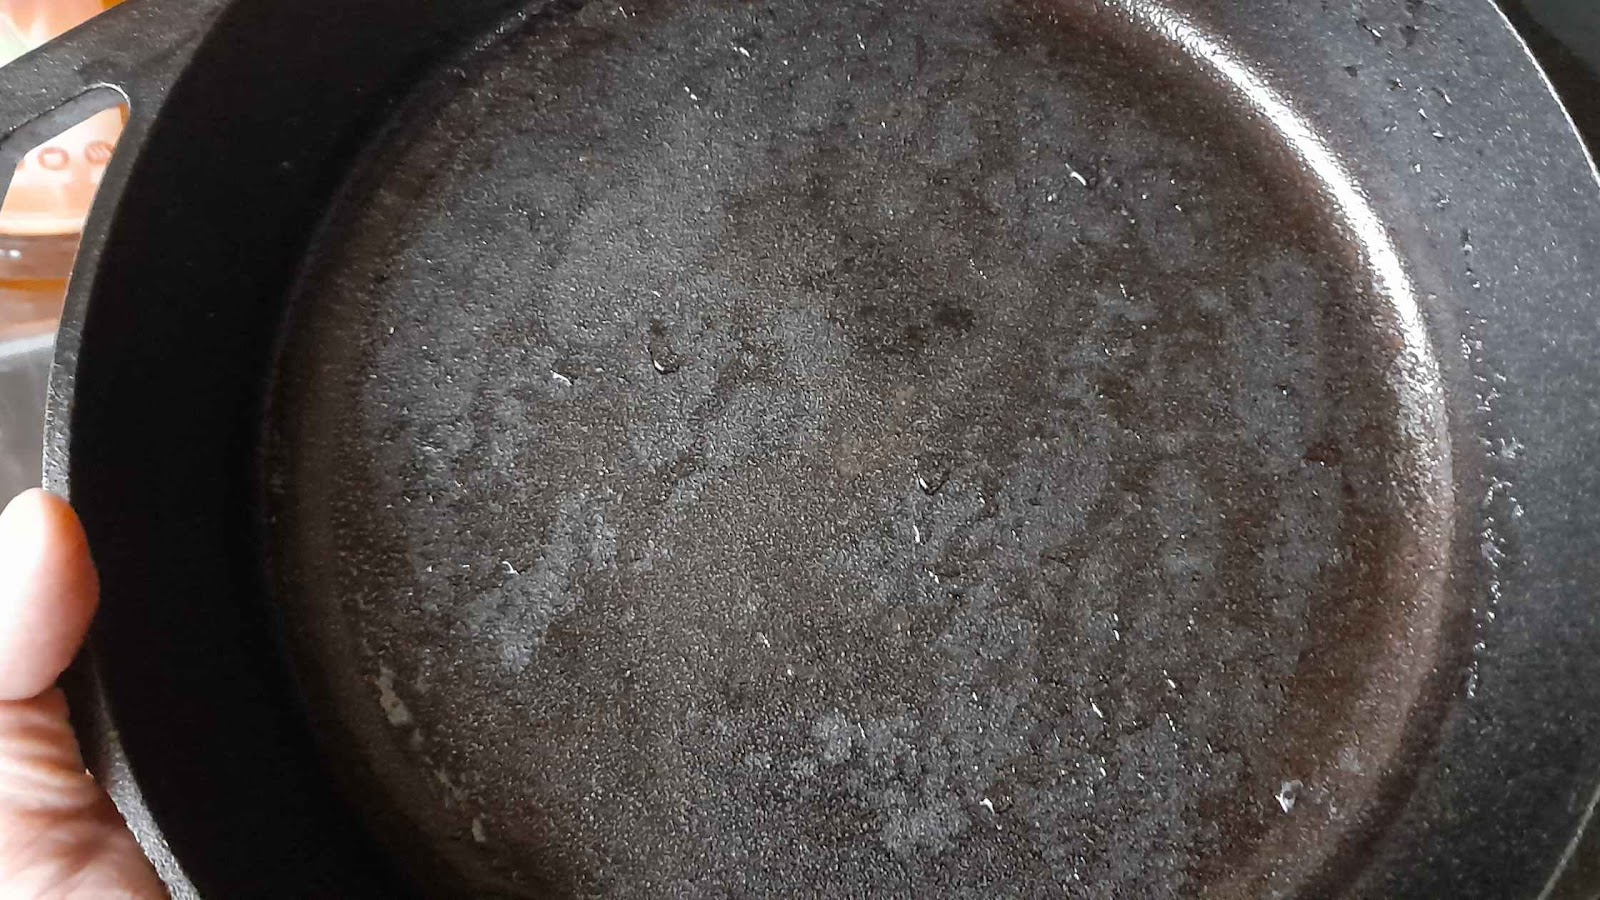
In this article, I’ll be removing the seasoning from my Lodge Dual Handle Pan which I recently reviewed. Since then, I have only used it three times.
I’m still pretty new to using cast iron skillets, but largely I would say that it’s in good shape. There are a few bumps and pieces from what I have cooked already that I hope to move as well. No rust at all yet.
After a great deal of research, I tracked down what I think are the best methods for removing seasoning from a cast iron skillet.
However, since I only have one to test out, I’ll only test out what I consider the top method (though this is also based on my needs—you might think differently).
I’ll later show how to add a new layer of seasoning in an upcoming article.
What You’ll Need to Remove Seasoning
To remove the seasoning from a cast iron skillet, get the following ready.
- A kitchen towel—to dry the skillet after removing the seasoning.
- Your chosen cleaner (see methods below).
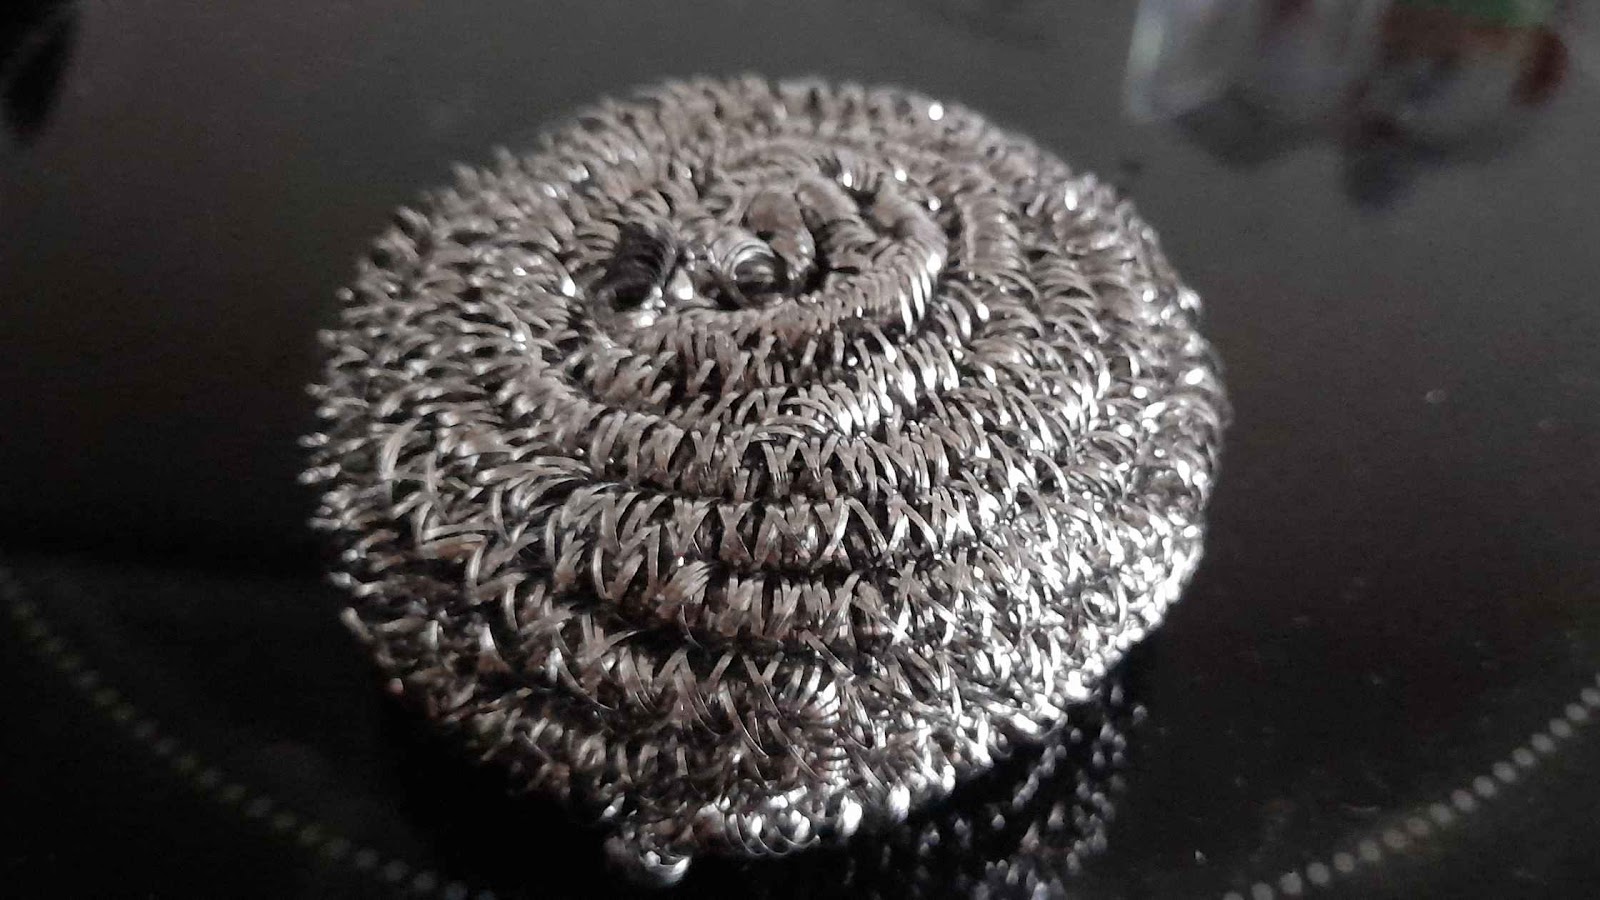
- Something to scrub with—to remove loose flakes. Regular sponges or steel sponges or both.
- Hot water—never use cold.
- A stove—if you used any liquids, use a stove to heat the pan afterward and remove moisture.
- Oven mitts—to handle the pan when hot.
Of course, there will be additional things you may need for the method you try.
How to Remove Seasoning From a Cast Iron Pan: Instructions
There are quite a few ways to remove the seasoning from a cast iron pan. Head out into the country and people will tell you a hundred different ways you can unseason (and then reseason) a pan.
And for each method, there will be plenty of intricacies that may marry several other methods.
In the end, it may depend on what you have in the kitchen, how long you can wait, or just come down to your preferences.
And remember! Be prepared to reseason after you’re finished!
Method 1: Vinegar—or Other Acids—With Baking Soda (Best Overall)
Out of all the methods I will explain, I decided this method was likely the best. It was the most practical for me at the moment and seemed to have the most benefits. So, I tested it out below.
Part of the reason for this choice is that vinegar and soda seemed the most natural. No man-made chemicals are needed and the combination of the two would make it easier to scrub.
Vinegar is also great to use if there is rust. If you don’t have vinegar, peracetic acid can also be used and I have heard that citrus acids can also be effective.
Whatever acid you choose to use, you may want to consider one that’s not too strong smelling—the smell of vinegar can bug people.
Another benefit of this combination is that baking soda is also good for removing bad smells and flavors (e.g., fish). So, if your pan is super stinky after cooking some fish, definitely get the baking soda ready.
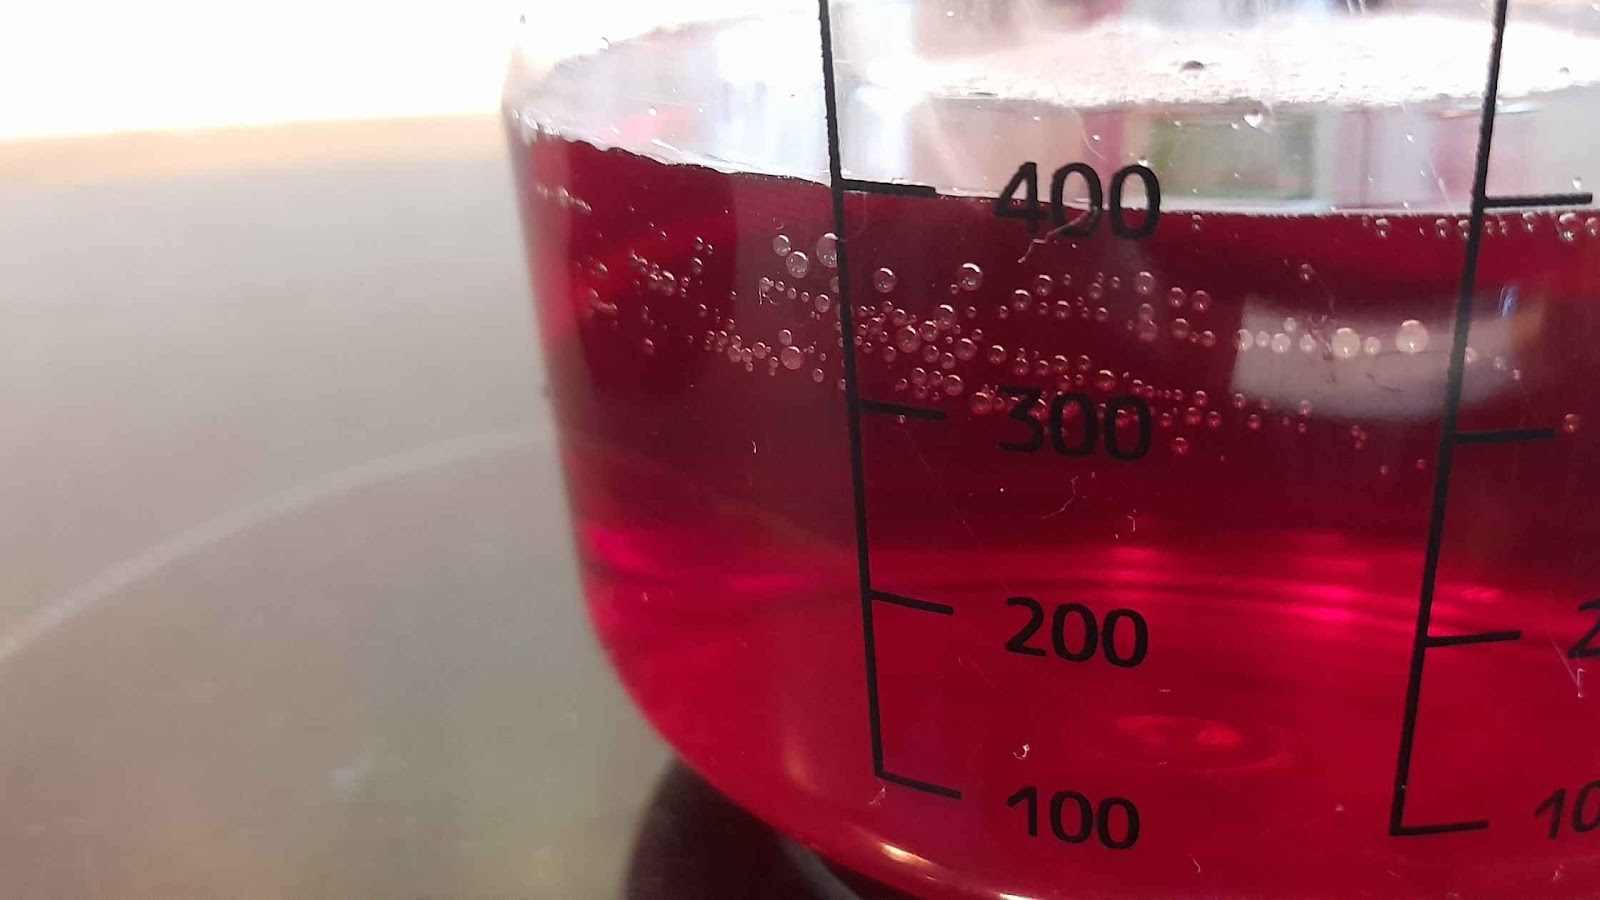
Normally white vinegar is the go-to option, but at the time of writing, I only have wine vinegar on me. The color is pretty different.
YouTuber, ThatNurse CanCook, had a really useful video on removing and restoring cast iron skillets with new seasoning, that I recommend.
Here are the steps.
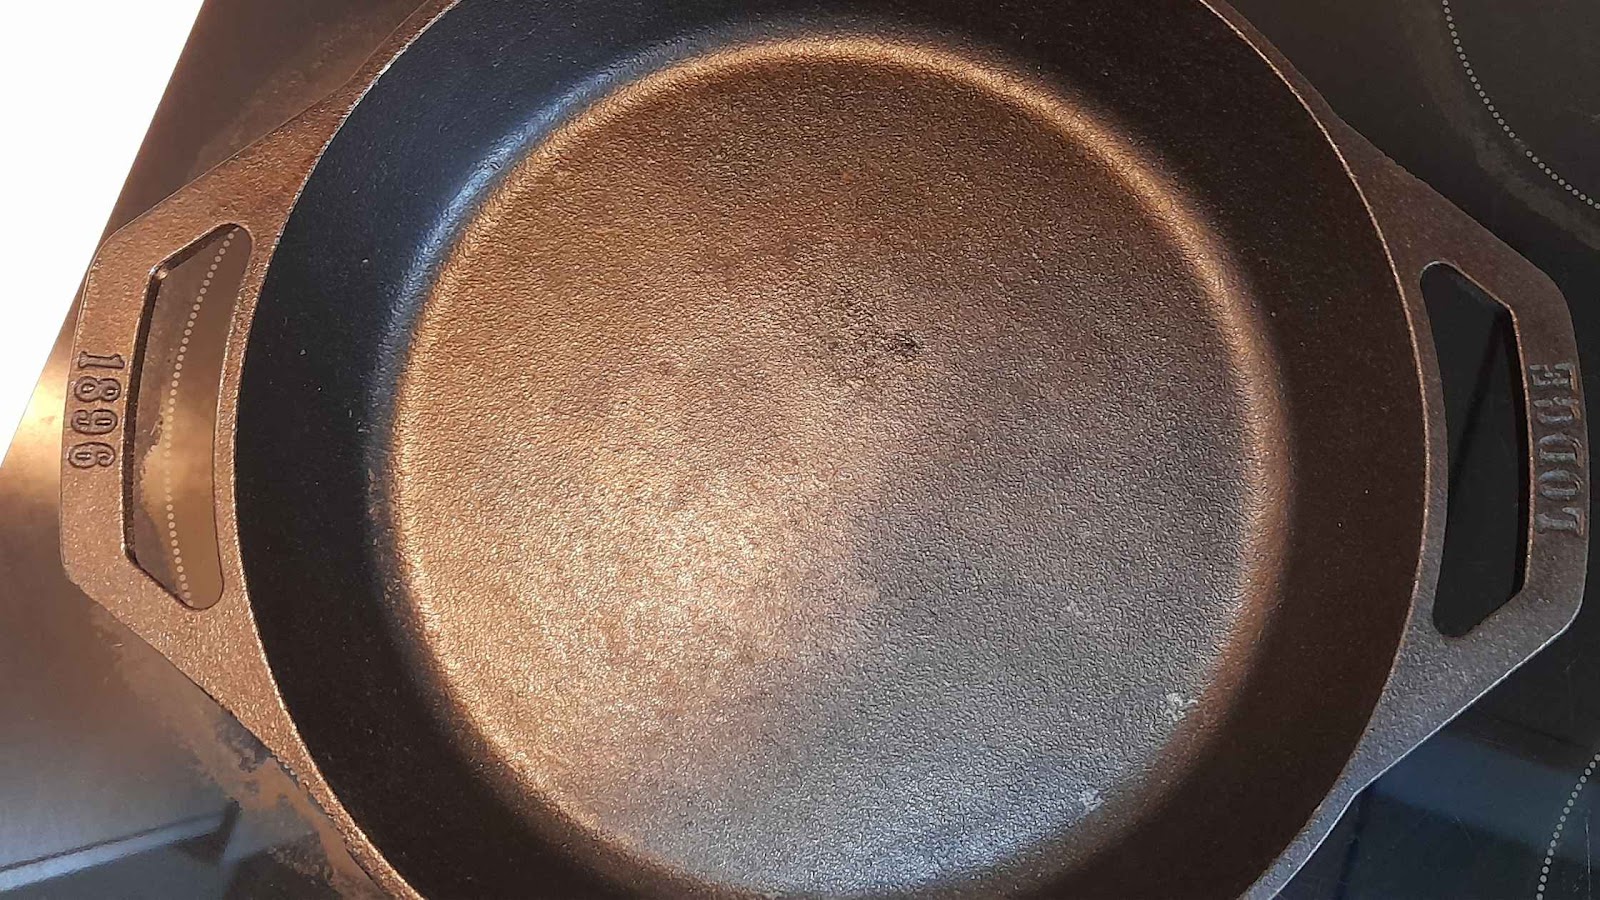
Step 1. Make a 50/50 ratio solution of vinegar and water. My pan is approximately 10.25″ in width and 2″ in depth, and I’m only interested in reseasoning the base of the pan.
For my example, I only used 200ml water and 200ml wine vinegar which I placed in a measuring jug.
Step 2. Pour the solution into the pan and wait for 1 hour. You won’t see the effects immediately. As my pan is quite new, I’m only going to unseason the base of the pan.
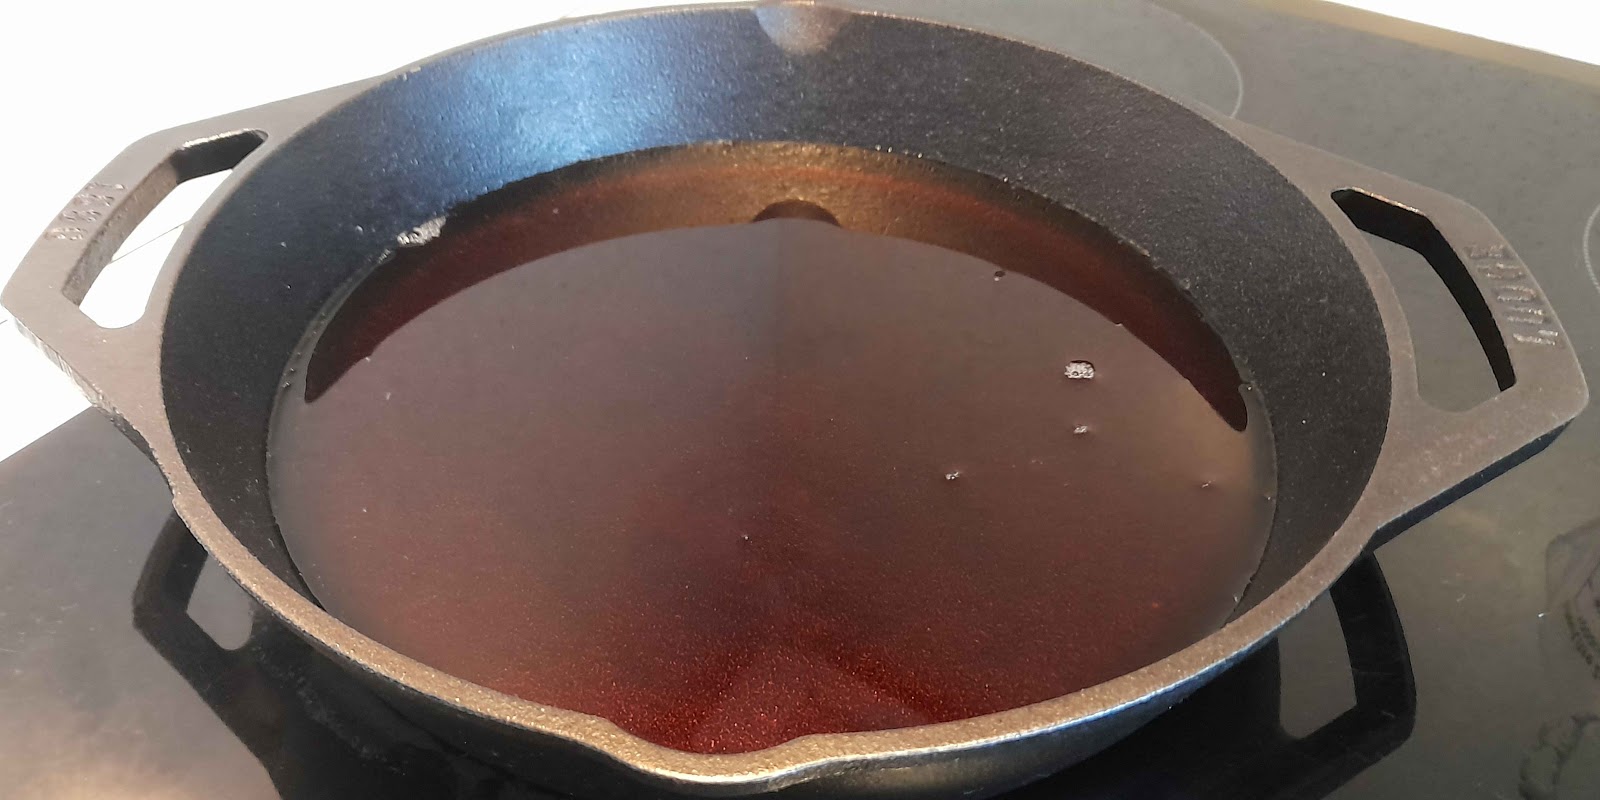
If I wanted to unseason the whole pan, I would need a lot more than 400ml, and I would have to place the pan in a large container, like the sink.
Step 3. After 1 hour, empty the water and vinegar solution.
Step 4. Next, add baking soda. It should start to sizzle. Using a steel sponge, start scrubbing. The baking soda will turn into a paste.
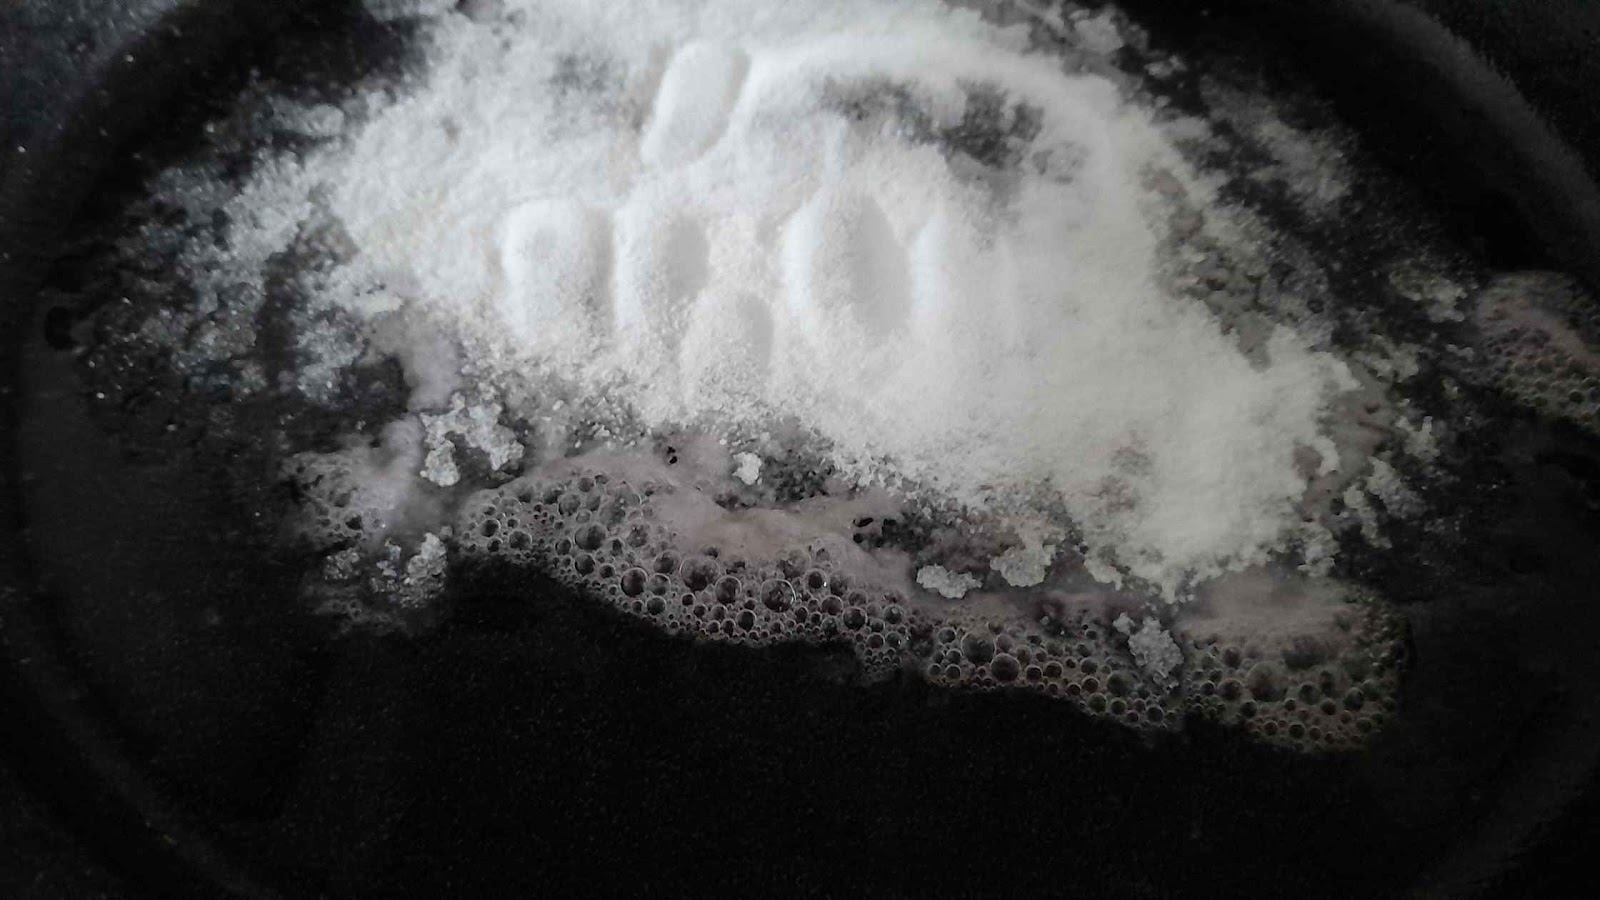
If you want to do the whole pan, make sure you scrub on the bottom, around the rim, the side, and the handles too.
Step 5. Rinse away the baking soda and then dry off your pan.
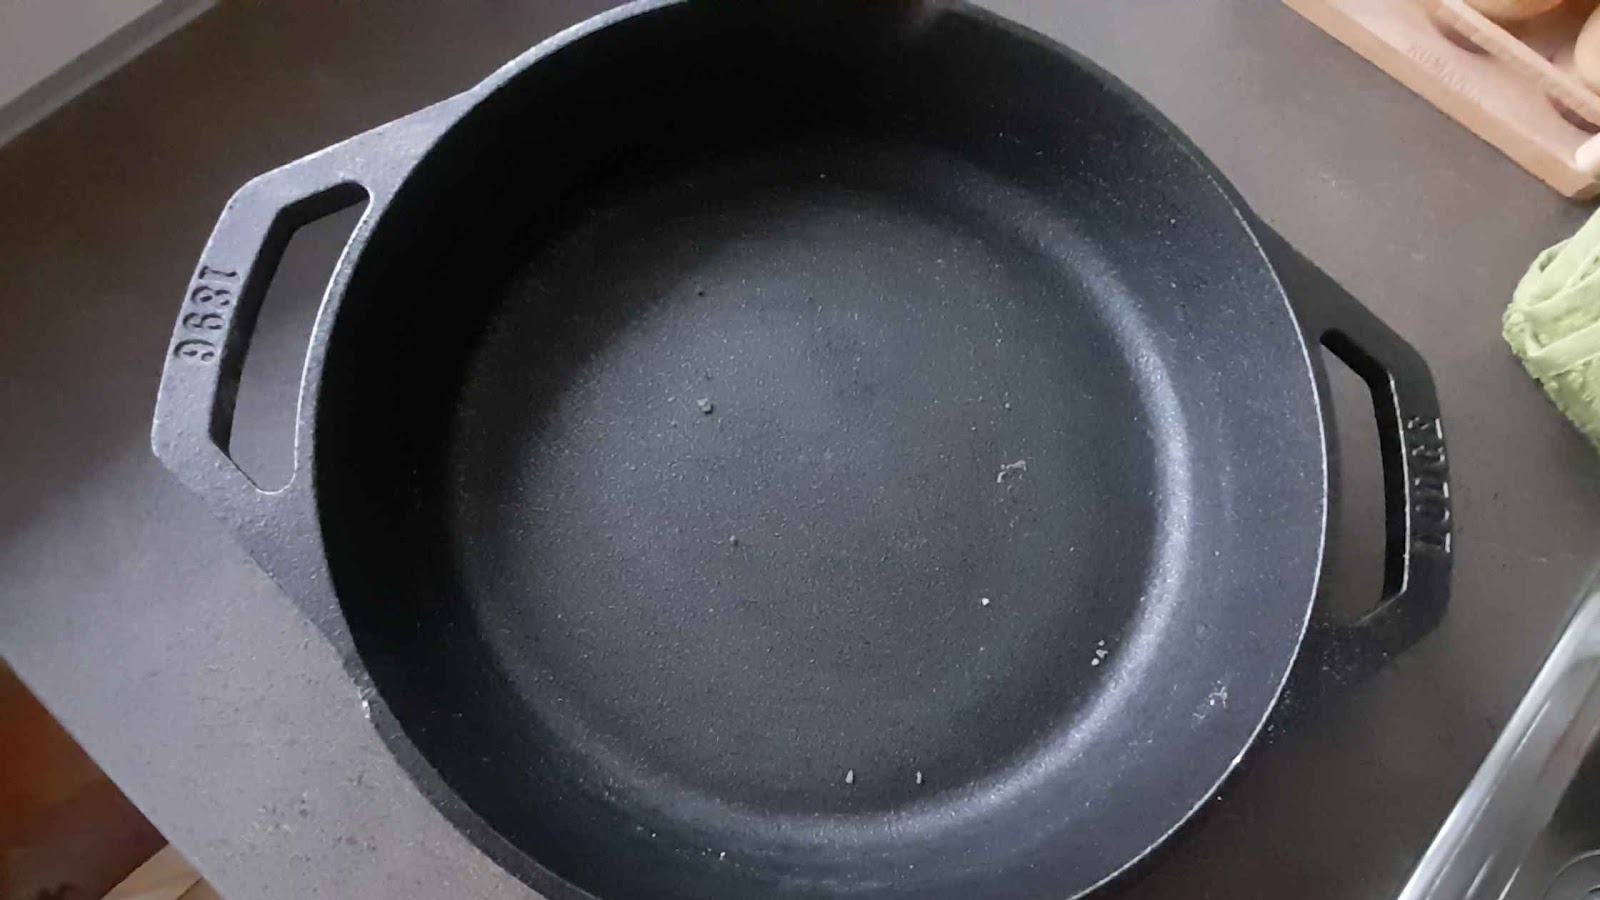
Step 6. Heat the stove and place the pan on it to heat away any hidden moisture.
And now you’re done. You can now reseason—though in my case, I’d clearly have to go over the pan to remove more of the seasoning.
Interestingly, after doing this method with a strong-smelling wine vinegar, after cleaning it didn’t linger around, which I was quite pleased by.
Method 2: Oven Cleaner (Most Effective But Most Time-Consuming)
Most likely you have some oven cleaner at home. Of course, though, not all oven cleaners work in the same way. For the best results, it should have ‘sodium hydroxide,’ also known as ‘lye.’
On top of that, you might feel uncomfortable using an oven cleaner on a pan where you normally cook food.
This is how I felt part of the reason why I didn’t use this method. (I also didn’t have an oven cleaner with sodium hydroxide, unfortunately.)
Some oven cleaners will be sprays, and some won’t, so how you apply it to the pan may differ. Because of the chemicals, particularly if the oven cleaner is a spray, it’s not advised for anyone with breathing issues.
If you’d prefer to watch someone remove skillet seasoning with oven cleaner, you can watch The Culinary Fanatic’s YouTube video which shows meticulously how to do it.
You’ll also need a few extra things to unseason a pan with oven cleaner:
- A well-ventilated area. You don’t want to breathe in oven-cleaning chemicals.
- Kitchen gloves to protect your hands. As some oven cleaners are very strong and can harm your skin.
- Something to wrap up your skillet in. E.g., a garbage bag.
On top of that, you’ll also need more time—about a day—to allow the oven cleaner to take effect.
Here are the steps.
Step 1. With your kitchen gloves on, place your skillet within the bag and apply oven cleaner either inside the pan or all around the pan.
Step 2. Once you’re finished applying the oven cleaner, wrap it up and store it somewhere safe for about a day.
Step 3. After about 24 hours have passed, remove the skillet from the bag in the sink and rinse it down. A lot of the seasoning will come off at this point.
Step 4. Next, you’ll need to scrub the remaining seasoning off the pan. You can use a steel sponge and dish soap.
Step 5. Optionally after cleaning with oven cleaner, you can wash it in a vinegar and water solution like the previous method—this can help remove any harmful cleaning chemicals.
Step 6. If you decided to clean it with vinegar, you can rinse it off with dish soap again afterward.
Step 7. Lastly, dry off the pan and get ready for seasoning.
Method 3: Oven and Salt Rub (Fewest Requirements but Most Scrubbing)
This method can be easily done at any home and requires little more than an oven, salt, and a dishcloth.
My problem with this method is that you can miss patches and it requires more effort scrubbing. That said, it is quicker than waiting an entire day as you might with the oven cleaner method.
Her Homestead Skills has a great video on this method and I suggest you watch it if you plan to use this method.
The steps are as follows.
Step 1. Heat the skillet in the oven or broiler for at least an hour. Doing this will help some of the seasoning fall off alone. You can do this on a regular oven, it doesn’t have to be a self-cleaning oven.
You might want to put the skillet in the oven upside down with a tray underneath to catch any falling parts.
Step 2. Once you’re happy with the progress made by sticking it in the oven, let it cool down and prepare a dishcloth and salt.
Step 3. Pour salt into the pan and start scrubbing. As a natural abrasive, it’ll start to strip away the remaining weakened seasoning.
Step 4. Once you’re happy with the amount of seasoning you’ve striped off, you’re done.
Bonus Method 1: Coal (Best if Outdoors)
Perhaps this is the least practical method, but since you’re here at Barbehow, it made sense to through in at least one potentially grilling-related method. This method requires a nice hot grill, coal, and tongs.
Put the skillet upside-down on the grill and cover it with hot coals. Use tongs to move the coals around to cover the skillet better.
You may see the oil falling off the pan and flaring up the fire. As soon as, the metal of the pan starts to glow red, take it off the grill. Next, let it cool down and once cool, scrub the pan down.
If you really do this outdoors, perhaps while camping, you’ve really got to be prepared if you want to reseason it afterward.
It’s also super important to mention that your skillet should not spend too much time covered in hot coals because it can drastically alter its shape and make it less usable. So, be careful!
Check out Backwoods Gourmet Channel if you’d prefer to watch this method.
Bonus Method 2: Self-Cleaning Oven (If You’re Lucky)
If you are lucky enough to have an oven with a self-cleaning setting, supposedly you can try removing the seasoning solely in the oven. This method is not advised for old pans.
This method takes up to one hour and all you have to do is remove any trays, turn the self-cleaning option on and place the pan in upside down.
I would keep an eye on the oven, just in case, particularly if this is your first time doing this or using this setting.
Once done and the seasoning has been stripped, let it cool down, then wash in the sink with hot water and soap to remove the flakes.
Extra Tips and Considerations
Here are a few extra dos and don’ts when it comes to removing seasoning from your skillet.
Does Scrubbing Cast Iron Remove the Seasoning?
All of the methods mentioned above require some scrubbing. When I first started looking into the different ways you can remove seasoning, I thought that scrubbing was a bad idea, but it is quite common.
It is worth mentioning that depending on how rough your pan is, scrubbing can be a bit tiring. If you scrub with water, it should be very hot and used in combination with dish soap. And definitely dry off after!
Scrubbing alone is not advised because you can miss spots and it can require a lot more work. However, loosening up the seasoning first and following through with a scrub can be highly effective.
Do I Need to Remove All of the Seasoning From Cast Iron?
Nope, you might just want to remove the seasoning within the pan, in which case removing the seasoning on the outside of the pan might just be extra work.
You may want to remove the seasoning all around the pan if you plan on reseasoning it for strength, or if you think the pan needs to be completely redone.
For example, some of the old seasoning has fallen off or it’s starting to rust.
Some methods, such as using a self-cleaning oven, will remove the seasoning all around the pan, not just on the inside, so you’ll have to season the whole pan after.
Meanwhile, methods like vinegar and baking soda can be used either way—the interior of the pan or the entire pan.
For example, if you decide to use vinegar, you could plug the sink and bathe your skillet inside, covering the entire pan, or just fill up the inside of the pan with vinegar if that’s all you need (as I did).
But do note, bathing the entire skillet will require a lot of vinegar, probably more than you have, so it might be wise to get a cheaper variety.
Why Remove the Seasoning From a Cast Iron Skillet?
Before you start striping away at the seasoning from your cast iron skillet, you should make sure you’re doing it for the right reasons.
It may be that you bought a pre-seasoned skillet, and you want to start over. Many people do this, though it’s not always necessary.
Perhaps you notice something about the pre-seasoning that you dislike—bumps or what looks like patches, for example.
Or the pan, if it’s second-hand, could be in poor condition. There could be pieces of seasoning flaking off and areas. This is quite typical with older skillets that have likely not been used for a while.
Or, if you’re a real expert on seasoned cast iron skillets, maybe you prefer a particular method or oil.
Another reason may be that you cooked fish and want to remove a fishy smell. However, while unseasoning can help with this there are other, better methods.
Likewise, you don’t necessarily have to remove seasoning if there is dirt stuck to the pan. There are many ways to remove dirt without removing seasoning.
Ideally, if you don’t need to remove the seasoning, it may be better to avoid it because you will need to reseason your pan again. It all takes time and there’s always a chance you could make mistakes.
Do You Have to Remove the Old Seasoning From Cast Iron?
Not necessarily. It depends on the condition of the old seasoning. If old seasoning is peeling off and it is starting to negatively affect the pan, then yes, you should remove it and prepare to re-season.
But if the seasoning has formed a nice layer that protects the pan and is easy to cook on, there’s no need.
In fact, you’d lose all that precious seasoning that you had built up over time and without it, things might not taste as great.
There are plenty of people who purposely buy second-hand seasoned skillets just to get this seasoning.

Craig, thank you so much for this well-written, well-researched & wonderfully detailed article! Not many ppl are are so thorough 🙂 . I tried the vinegar-baking soda solution today & it worked! I used it on a second-hand, pre-seasoned pan. One thing I noticed though is that the rougher, pebbly texture of the pan remained after I scrubbed away the factory pre-seasoning + the home seasoning of the previous owner. However with another pan of mine, a vintage one from the days before factory pre-seasoning, it’s nice & smooth, no pebbly feel anywhere, not inside the pan, not on the handle & not on the back of the pan. Do you know if the pebbly texture on the newer one means that I haven’t actually scrubbed all the factory-preseasoning off? B/c your photo in Step 5 looks a lot smoother than my factory one, yet yours is a Lodge so it was originally rough & pebbly too. Many thanks, Lisa